DYI - Programmed Christmas lights: mounting
Now that you're excited about the idea of custom Christmas lighting, it's time to focus on how to physically set everything up. Mounting is where your lighting project starts to take shape, turning ideas into something tangible. It’s the process of preparing and connecting the components that will bring your design to life. In this part, we'll focus on setting up the physical structure for your lighting. We'll outline how to connect your lights, controller, and power source to create a functional base for your project.
Programmed Christmas lights project
Programmed Christmas lights: concept
Programmed Christmas lights: mounting
Programmed Christmas lights: code
Components
| 1x Arduino Nano (or another Arduino module) $3.38 |
| 1x Mini-breadboard
|
| 1x Black container (83x58x33)
|
| 1x Switch button $3.21 |
| Fairy lights
|
| Dupont wires
|
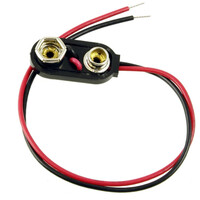
| 9V Battery clip + 9V Battery
|
Prerequisites
We suggest reviewing articles that are either directly or indirectly referenced in this guide. This will provide you with a comprehensive understanding of each component and how they interact.
Setting up your custom Christmas lighting
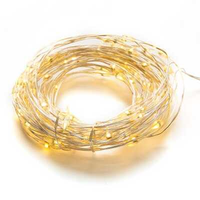
For this project, we’ll use commercial 5V fairy lights, which are lightweight, flexible, and simple to set up. These lights typically come pre-wired, which eliminates much of the complexity associated with connecting individual LEDs. However, if you’re using a different type of LED strip, pay close attention to the voltage requirements. For example, LED strips requiring higher voltage may need an external power source or additional components, such as a voltage regulator.
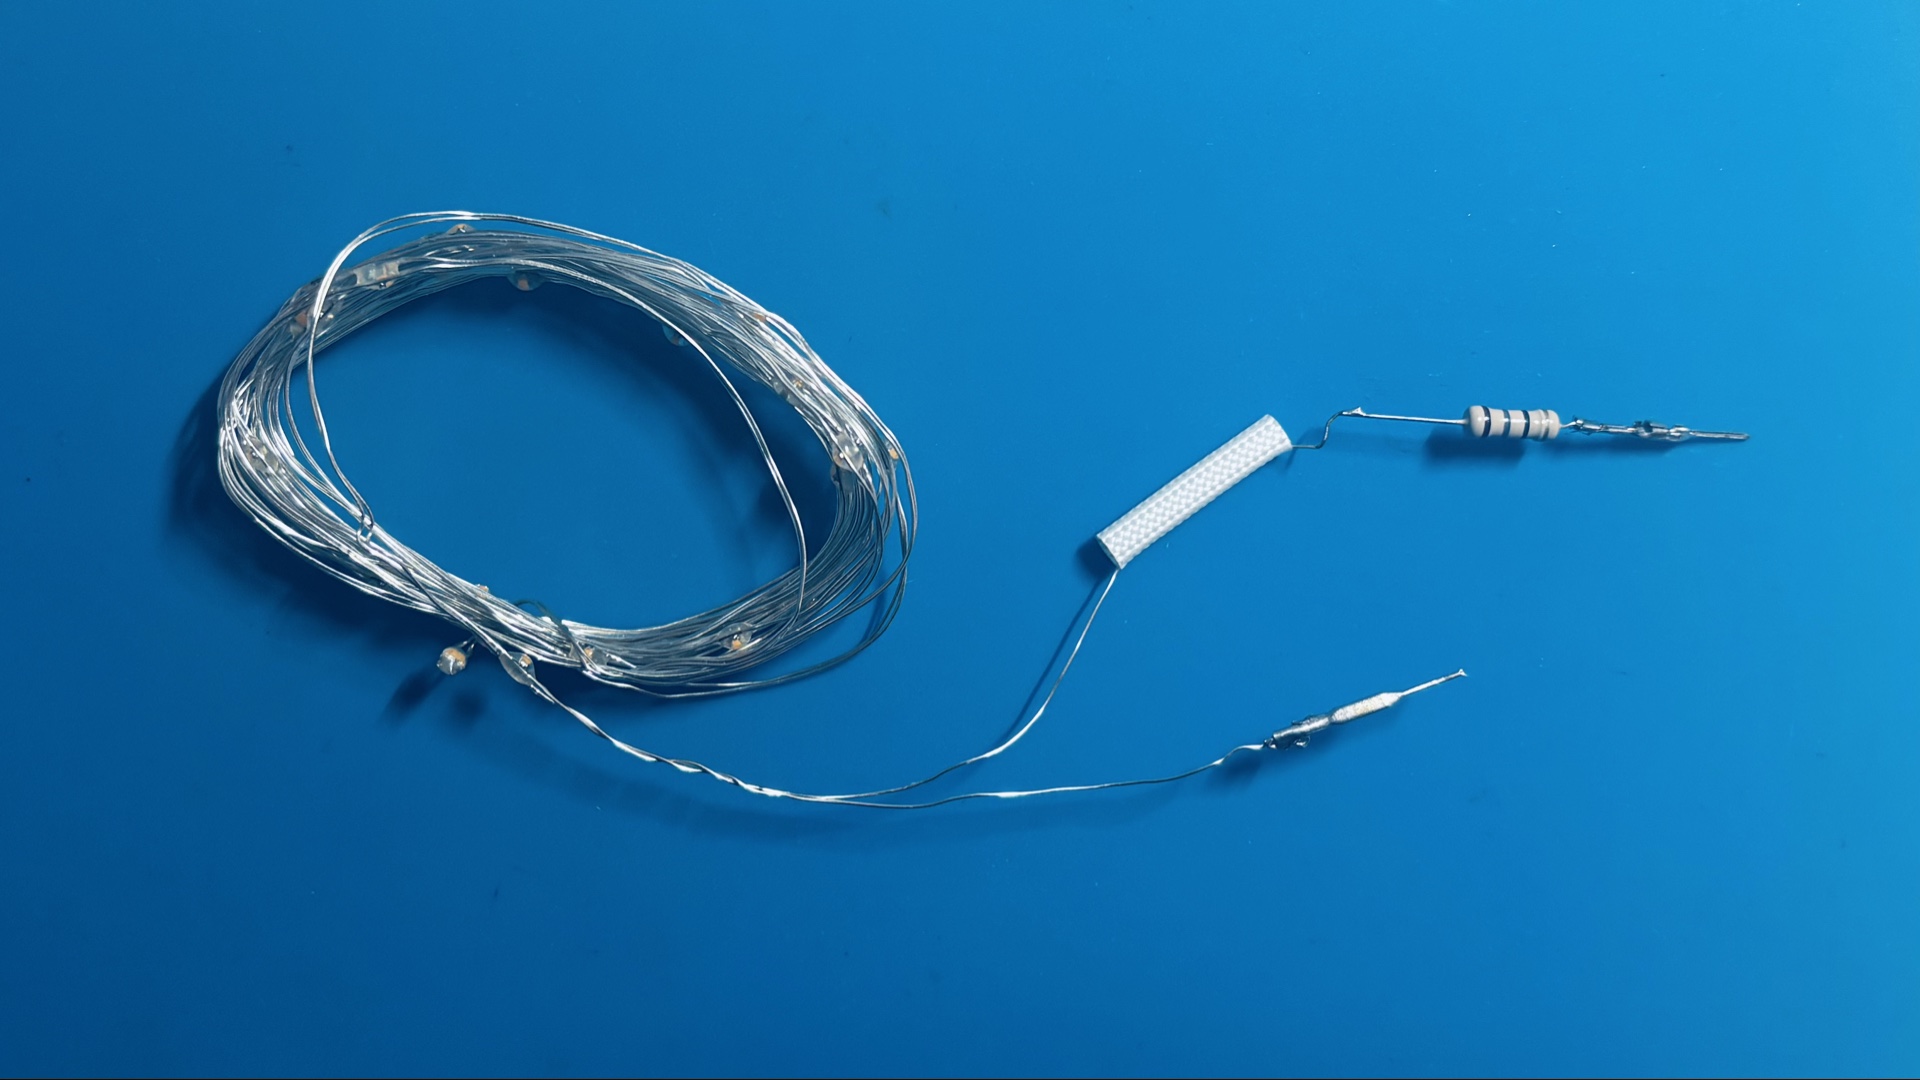
Fairy lights can be easily mounted to a variety of surfaces using tape, clips, or hooks. Before mounting, clean the surface and plan the layout to ensure the lights are evenly distributed and cables are neatly routed. Take into account the placement of the Arduino Nano and the power source for a tidy and efficient design.
Adding the Arduino controller
The Arduino Nano will serve as the controller for the fairy lights, allowing you to manage their brightness and blinking patterns. Connect the fairy lights' power wire to a PWM (Pulse Width Modulation) output pin on the Arduino. This connection enables precise control over the light intensity and effects.
Ensure the ground wire of the fairy lights is securely connected to the Arduino’s ground pin. Since fairy lights have lower power requirements than some other types of lighting, they can usually be powered directly from the Arduino without the need for an external power source. However, double-check the current draw of your specific lights to confirm compatibility.
Setting up the power source
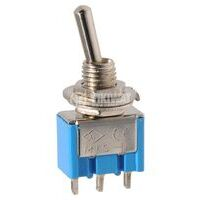
We'll use a 9V battery to power the Arduino Nano, providing enough energy for both the microcontroller and the fairy lights. The battery connects to the Arduino via a 9V battery clip, securely attaching to the Arduino's power input. A switch button is integrated into the circuit, allowing you to easily turn the device on and off, offering convenience and control. Additionally, Dupont wire connectors are used to simplify the connections, making it easy to connect the wires to the breadboard without soldering.
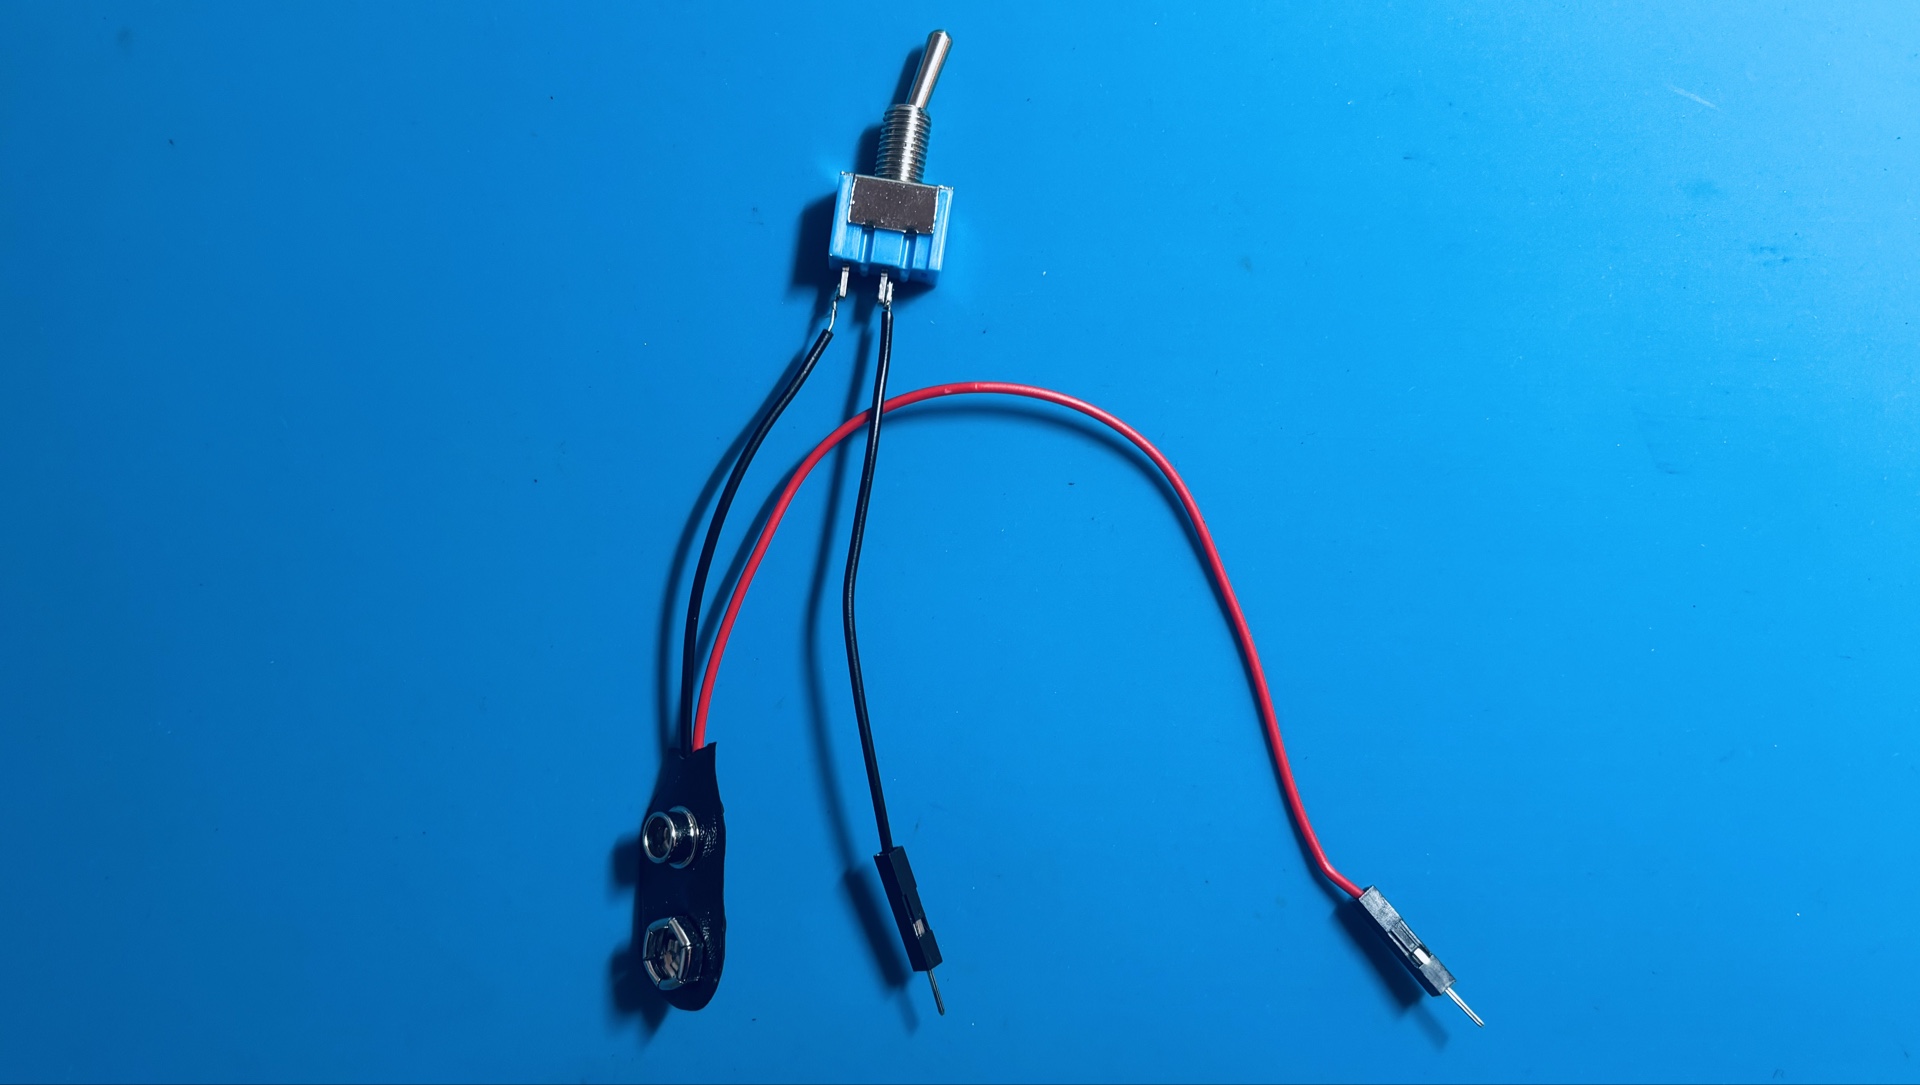
The fairy lights in this project have low power consumption, so they can draw power directly from the Arduino without needing an external power source. However, if you plan to use a larger set of lights or ones with higher power requirements, you may need an external power source to avoid issues such as overheating or dim lighting. Always check the current and voltage specifications of your fairy lights to ensure everything is properly matched for safe and stable operation.
Adding a protective container
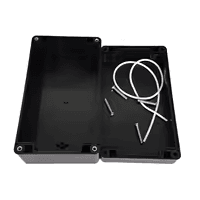
To give the custom lighting project a professional appearance, all the components are enclosed in a black container box. This container is specifically chosen to hold the Arduino Nano, the 9V battery, and the wiring, ensuring that all electronics are neatly hidden from view. By concealing the circuit inside the box, you create a clean presentation for your lighting setup, making it ideal for display in any holiday setting.
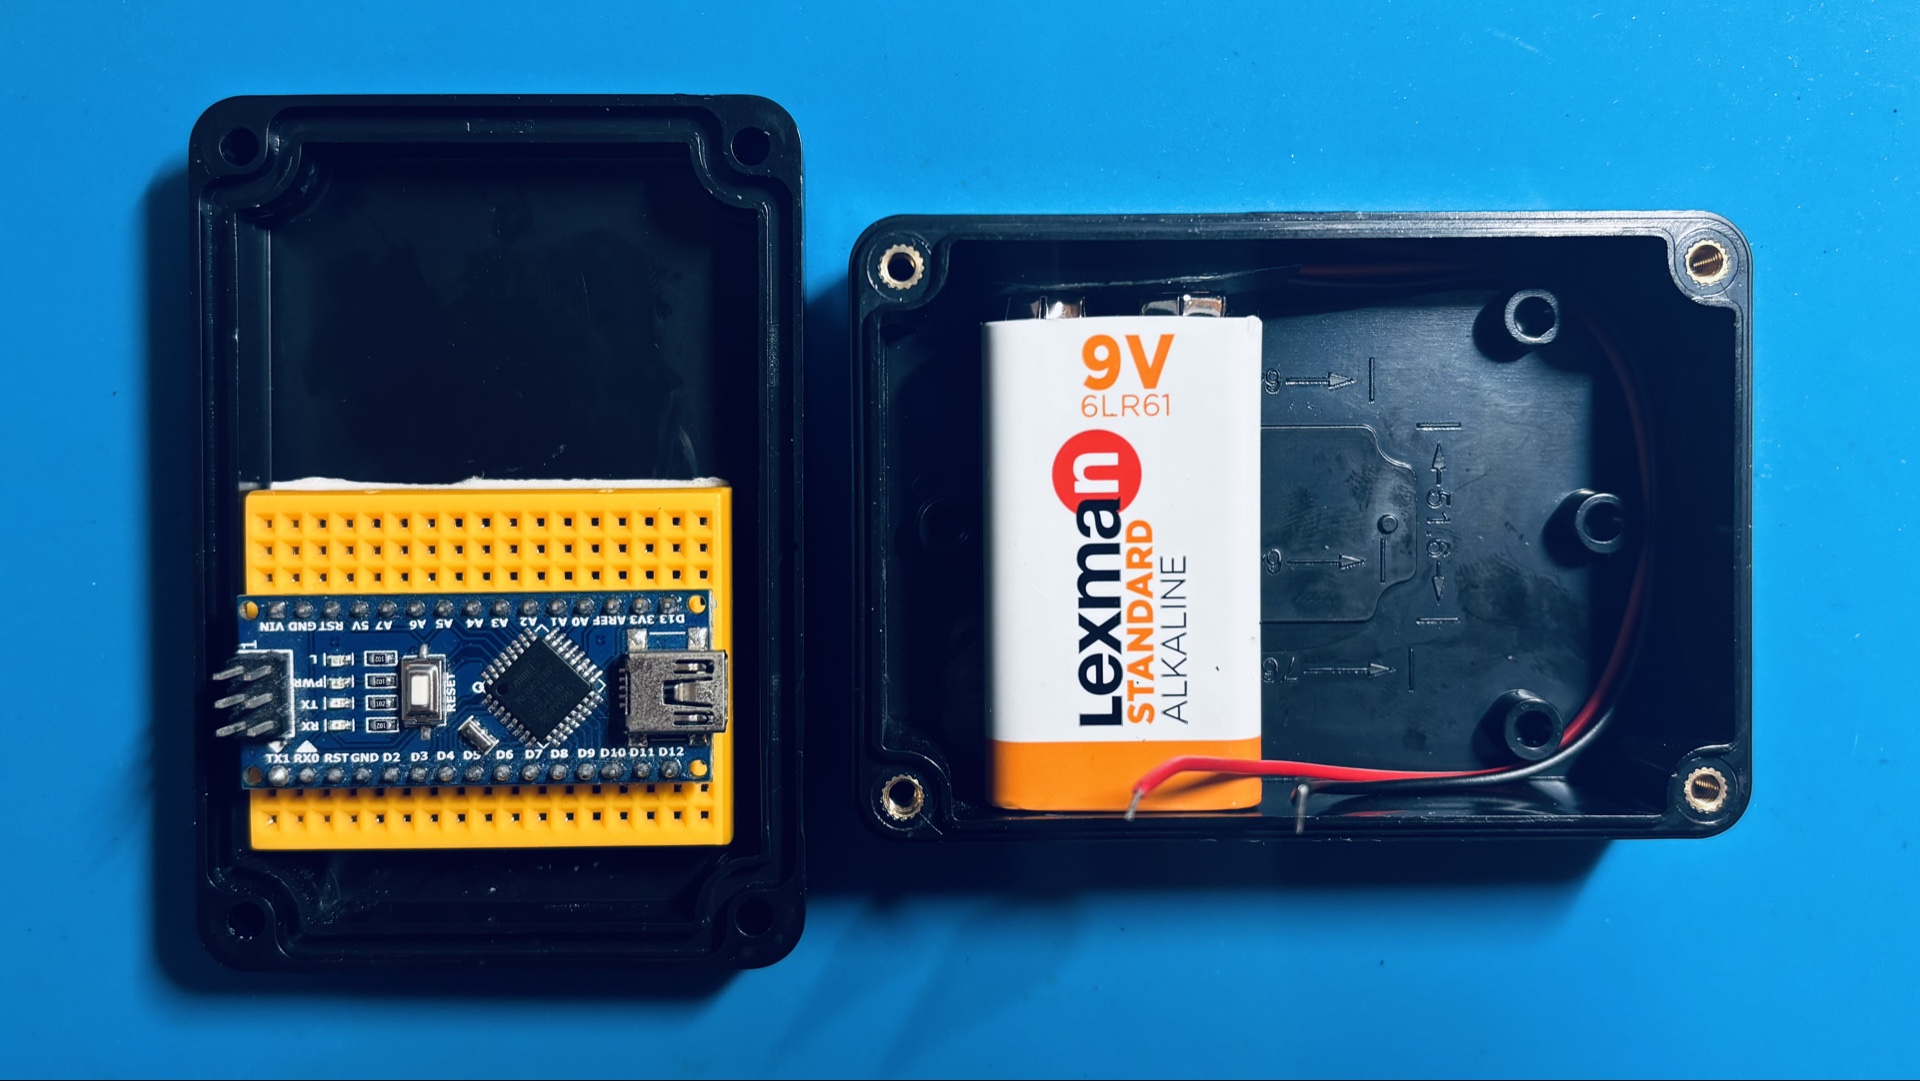
Both the 9V battery and the mini breadboard are fixed inside the container using double-sided tape. This method keeps the components firmly in place, preventing any movement or disconnection during operation or handling. The Arduino Nano, mounted on the breadboard, benefits from this secure arrangement, as it ensures stable connections and an organized layout.
Wiring schema
For this project, we will use the D3 pin on the Arduino Nano as the control output, taking advantage of its PWM capability to manage brightness and blinking effects. Our fairy lights are designed to work directly with a 5V source, as they already include a built-in resistor. If your fairy lights do not have a resistor, be sure to add one to protect the lights from damage caused by excess current. Always double-check the specifications of your components before starting.
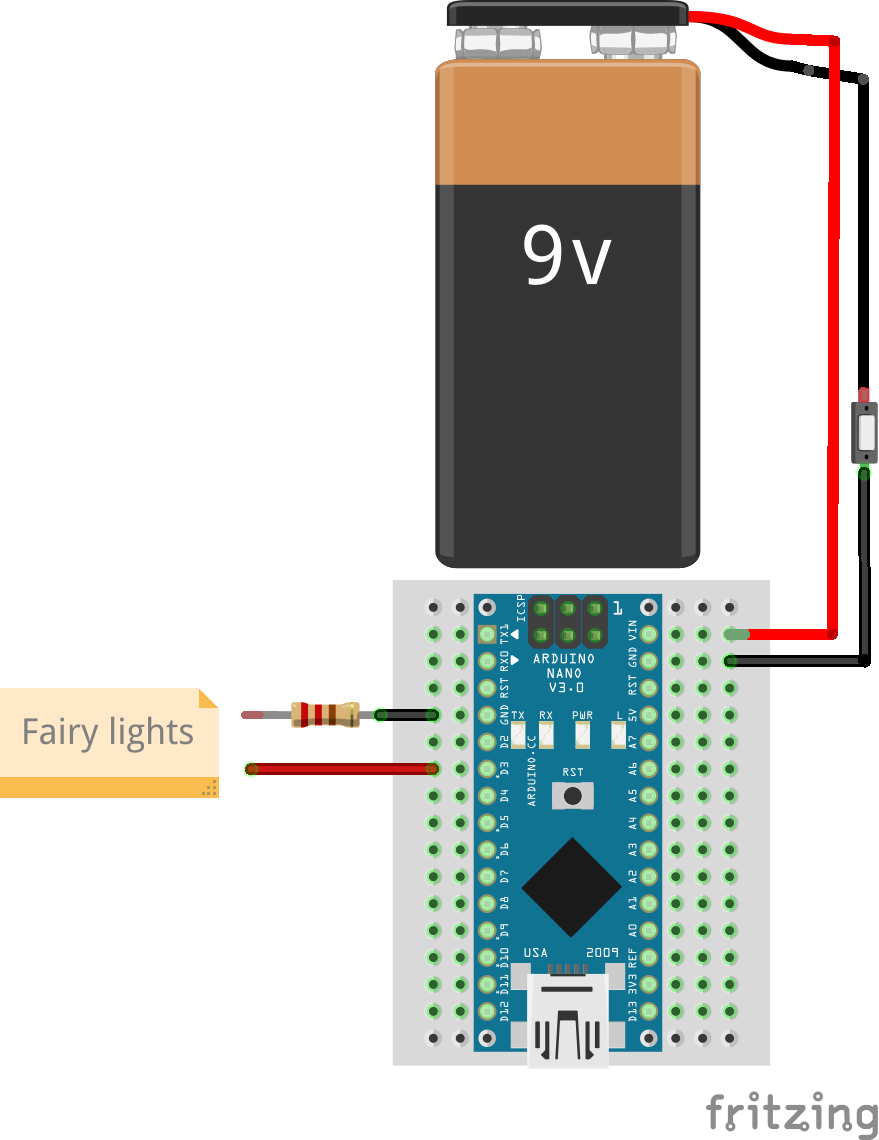
In the wiring diagram above, the positive wire from the fairy lights connects to the D3 pin on the Arduino Nano, and the ground wire connects to the Arduino's GND pin. The 9V battery is wired to the VIN and GND pins on the Arduino to provide power to both the microcontroller and the fairy lights. This simple wiring setup ensures stable performance and safe operation for your project.
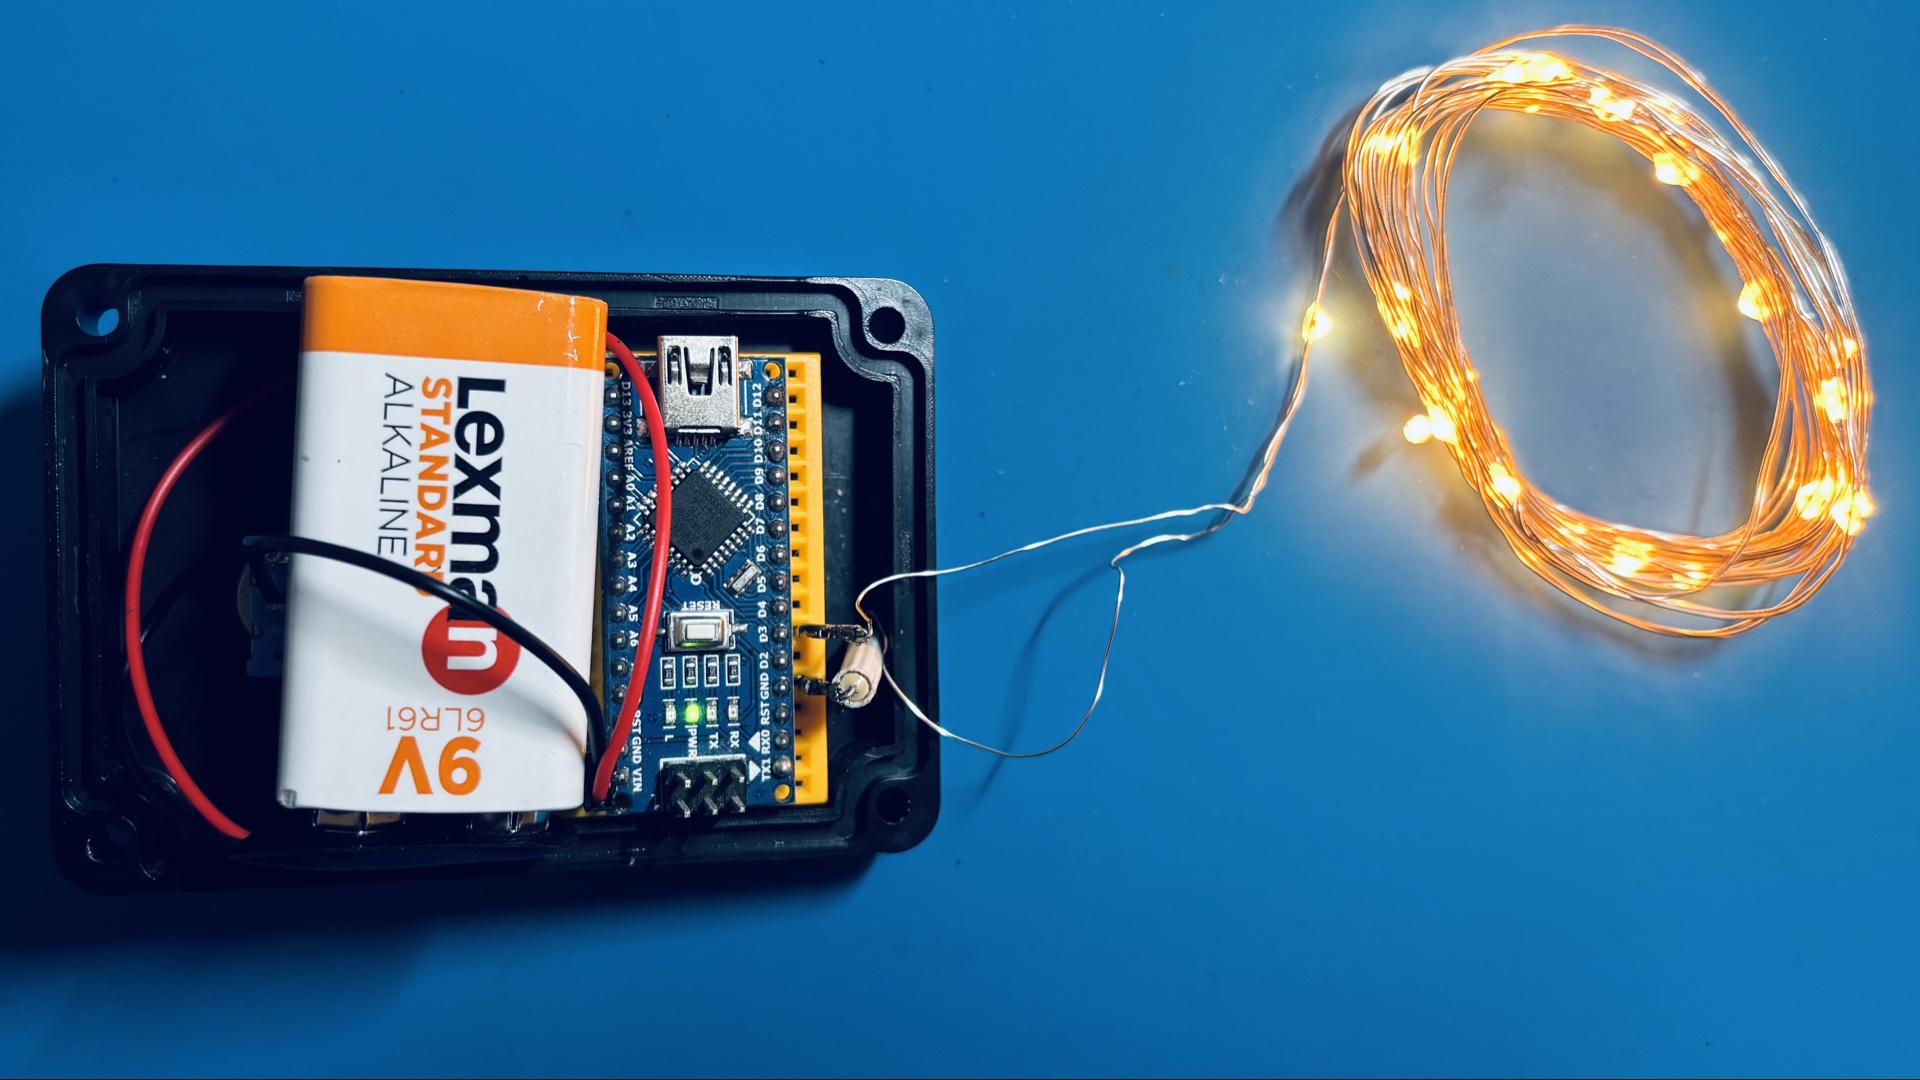
The final overview image provides a clear look at the completed setup, showing how all the components come together. With the wiring securely in place and everything housed in the container, the system is ready for use. This layout ensures that the project is both functional and visually tidy, while also making it easy to maintain or modify if needed.
Conclusion
The mounting process for Christmas lighting is straightforward and adaptable. Adjustments can be made based on the type of LEDs you use or the scale of your project, making this process a flexible base for your creativity. In the next part, we'll cover how to program your Arduino to control the LEDs and bring your lighting project to life with animations and effects!




0 Comments