Getting started with the Arduino IDE
The Arduino IDE (Integrated Development Environment) is the main tool used to write, edit, and upload code to Arduino boards. It's designed to be simple enough for beginners while still providing enough functionality for more experienced users. With a clean interface and compatibility with a wide range of boards, it's the go-to software for working with Arduino hardware.
Components

Installing and setting things up
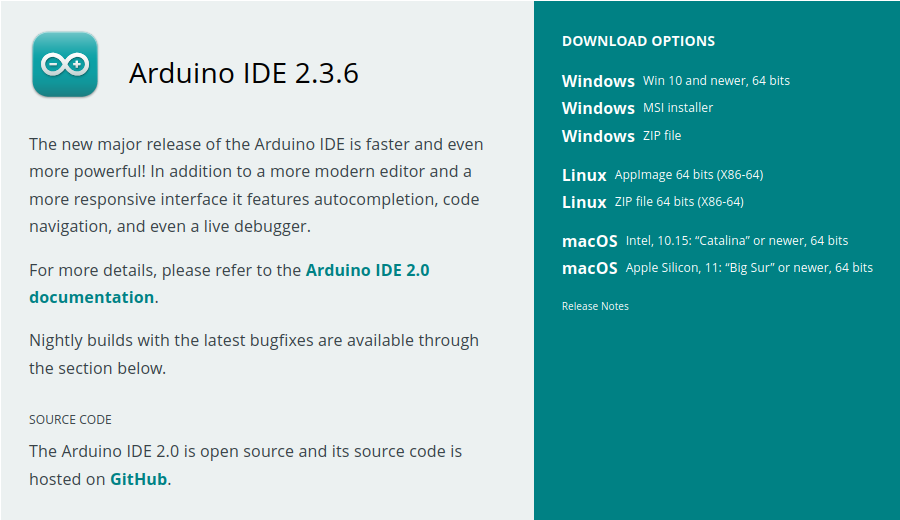
To begin, download the Arduino IDE from the official Arduino website. Choose the version that fits your operating system - Windows, macOS, or Linux - and install it like any regular app.
 Once it's installed, connect your Arduino board to your computer using a USB cable. The IDE usually picks up the board and port on its own, but you can double-check and select them manually from the Tools menu if needed. This step is important because uploading code won't work unless the right board and port are selected.

Understanding the basic structure
Every new sketch in the Arduino IDE starts with two functions already written for you: setup() and loop(). These are required in every Arduino program. setup() runs one single time, right after the board powers on or resets. This is where you put any code that needs to run once - like setting pin modes or starting serial communication.
The loop() function runs continuously after the setup is finished. Anything you put here will repeat for as long as the board stays powered. For example, reading a sensor value, checking for button presses, or blinking an LED would all go inside this section.
For example, turning an LED on and off can be done in just a few lines of code using these sections. Once you're used to it, writing and reading Arduino programs becomes much easier.
void setup()
{
  pinMode(LED_BUILTIN, OUTPUT); // Set LED_BUILTIN as an output
}

void loop()
{
  digitalWrite(LED_BUILTIN, HIGH); // Turn the LED on by making the voltage HIGH
  delay(1000);                     // Wait for a second

  digitalWrite(LED_BUILTIN, LOW);  // Turn the LED off by making the voltage LOW
  delay(1000);                     // Wait for a second
}
Once you've written your sketch, you can check it for errors by clicking the checkmark icon. If everything looks good, hit the upload button - the one with the right-facing arrow - and your code will be sent to the board. Most boards give feedback through onboard LEDs, so if you're testing something basic like blinking an LED, you'll see it in action right away. If things don't work as expected, checking your wiring and code syntax is usually a good place to start.
Extra tools and features
The Arduino IDE comes with a few useful tools that make things easier as you build more complex projects. The Serial Monitor is one of the most used - it lets you send and receive text between your board and computer. It's great for debugging or printing out sensor values while your sketch is running.
There's also the Serial Plotter, which gives you a live graph of numeric data sent from the board. This is especially useful when you're working with analog sensors or anything that changes over time. Instead of reading numbers line by line, you can see trends and behavior more clearly in a visual format.
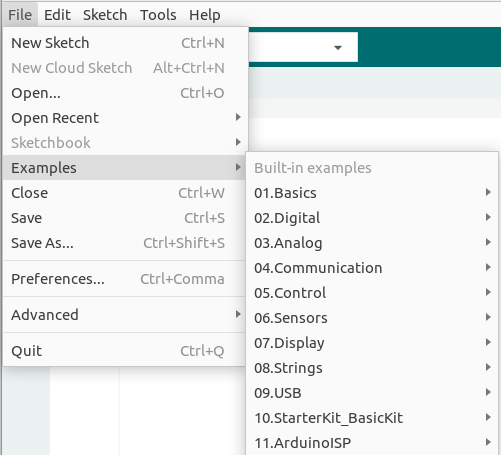
Another useful area is the Library Manager, where you can install extra libraries to support things like displays, sensors, motors, or network connections. And if you're just getting started or trying something new, the Examples menu gives you working code snippets you can load up instantly. It’s a practical way to learn and experiment without starting from scratch.
Conclusion
Arduino IDE offers a clear and practical way to start writing code for real hardware. It keeps things simple without limiting what you can do, which is why it works well for both beginners and those with more experience. Once you get the hang of it, it becomes a natural part of building and testing your ideas.


0 Comments