Switch button


DIY - Universal RC Joystick

  • avatar
  • 2.3K Views
  • 8 Likes
  • 23 mins read
Preview post image

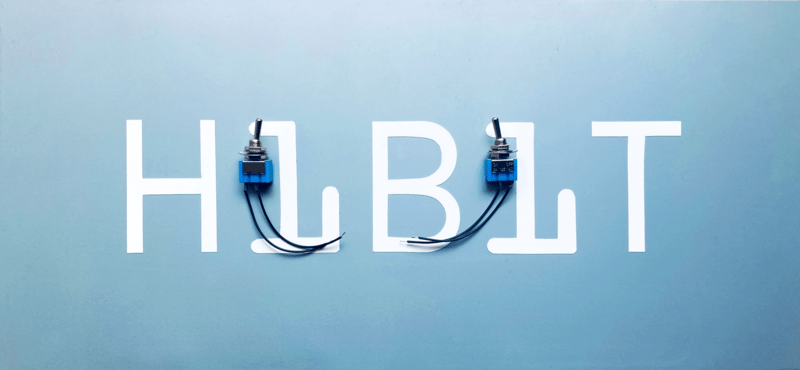
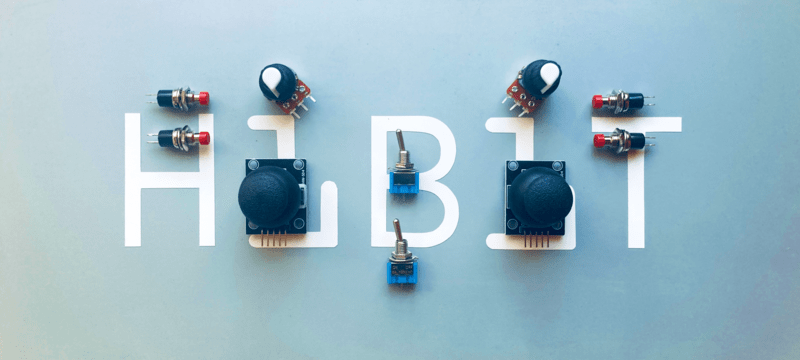
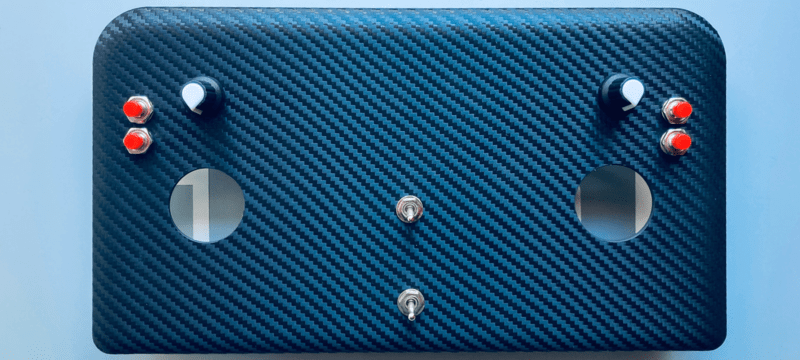
Controlling devices over a distance opens lots of possibilities. Our Arduino roadmap contains many projects that must be controlled remotely and sometimes on a long-distance. Of course, it can be done with a PC but our experience has shown that it becomes complicated when you need long way, portable and rapid communications. Our solution was designing a multi-functional remote controller, we have called it AirControl. Aware of the needs it will have 4 push buttons, 2 switch buttons, 2 potentiometers and two analog modules. Additionally, each analog joystick module has integrated push button.
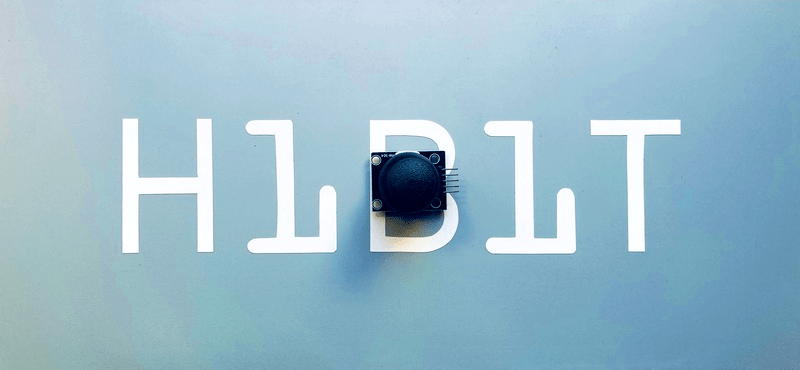

How to use an analog module with Arduino

  • avatar
  • 2.6K Views
  • 1 Like
  • 4 mins read
Preview post image

The KY-023 is an easy-to-use analog joystick. The joystick uses a biaxial potentiometer to control the X and Y axis. It also has an integrated push button. In this tutorial, it is shown how to connect the KY-023 joystick with the Arduino and how to use it.

Using switch buttons with Arduino

  • avatar
  • 2.2K Views
  • 3 Likes
  • 4 mins read
Preview post image

Let's speak now about switch buttons, the wiring and how to implement the code for this circuit elements in Arduino. Switch buttons connect two points in a circuit when you press them and maintain the state without the need to keep the button pressed. That means that logic state of the circuit change every time you press the button.

 Join Our Monthly Newsletter

Get the latest news and popular articles to your inbox every month

We never send SPAM nor unsolicited emails

Pull-up and Pull-down resistors

  • avatar
  • 2.3K Views
  • 4 mins read
Preview post image

A resistor is a passive two-terminal electrical component that implements electrical resistance as a circuit element. In electronic circuits, resistors are used to reduce current flow and adjust signal levels among other uses. Resistance is measured in Ohm with a sign of Ω.

A microcontroller (e.g. Arduino) utilizes I/O signals for communication with external hardware devices, where the most commonly known being GPIO. As a reminder, digital logic circuits have three logic states: high, low and floating (or high impedance). When there’s nothing connected to your GPIO pins, your program will read a floating impedance state, which we do not want. To achieve either high or low states, we’ll have to implement pull-up or pull-down resistors in our digital circuit.

DIY - Universal RC Joystick: receiver

  • avatar
  • 1.7K Views
  • 1 Like
  • 10 mins read
Preview post image

Wireless communication implies having a transmitter, in our case the joystick, and a receiver. We must build a simple circuit with NRF24L01 wiring that will act as listener for our joystick. The NRF24L01 module strictly needs 3.3V but the logic pins are 5V tolerant. That why we recommend to use the NRF24L01 adapter which acts as regulator, keep the voltage stable, apply filtering and reduce noises.

Using touch sensor with Arduino

  • avatar
  • 1.7K Views
  • 4 mins read
Preview post image

Touch sensor (also known as touch button) is widely used to control devices. It detects touch, force or pressure on its surface changing the logic state of the circuit. Actually, it works in very similar way as to buttons. Checkout the wiring and Arduino code implementation to track the current state and the state changes.

DIY - Universal RC Joystick: controls

  • avatar
  • 1.4K Views
  • 2 Likes
  • 3 mins read
Preview post image

Based on the solution of designing multi-functional remote controller and being aware of the needs we started building the joystick. It will have 4 push buttons, 2 switch buttons, 2 potentiometers and two analog modules. And, additional 2 push buttons integrated on the analog joystick module.

DIY - Universal RC Joystick: code

  • avatar
  • 1.3K Views
  • 2 Likes
  • 10 mins read
Preview post image

The physical part of the controller is finished but what about the brain? Once more, our decision falls on Arduino Nano. It perfectly fits by size providing all the necessary functionality. For programming a Nano board we need a USB to serial interface which can be hooked up to the programing header located on the top side of our controller.

DIY - Universal RC Joystick: concept

  • avatar
  • 1.1K Views
  • 3 Likes
  • 4 mins read
Preview post image

Controlling devices over a distance opens lots of possibilities. Our Arduino roadmap contains many projects that must be controlled remotely and sometimes on a long-distance. Of course, it can be done with a PC but our experience has shown that it becomes complicated when you need long way, portable and rapid communications. Our solution was designing a multi-functional remote controller, we have called it AirControl.

DIY - Universal RC Joystick: mounting

  • avatar
  • 1.1K Views
  • 2 Likes
  • 6 mins read
Preview post image

Based on the solution of designing multi-functional remote controller and being aware of the needs we started building the joystick. The cover with controls is ready for use but we miss the most important part: the microcontroller. Once more, our decision falls on Arduino Nano. It perfectly fits by size providing all the necessary functionality.